Account setup and first steps
Getting Started with MK.IO
Getting started with MK.IO – Account setup and first steps
Hi there. This is probably your first time using MK.IO. You’ve likely landed here because you’re looking for a way to run video workflows in the cloud — and someone told you MK.IO is worth checking out.
In this short guide I’d like to walk you through the first steps of setting up your account, and share a few important ideas so you can get started creating awesome things with this platform. No fluff — just the essentials to help you get going.
Here’s what we’ll do together:
- Signing up for MK.IO
- Log in to the platform
- Exploring your organization
- Create your first project
Let’s begin.
Step 1: Signing up for MK.IO
There are different ways to create your account, depending on your commercial relationship with MK.IO. Let’s start with the simplest and fastest one — subscribing via a cloud marketplace.
Subscribing via a cloud marketplace
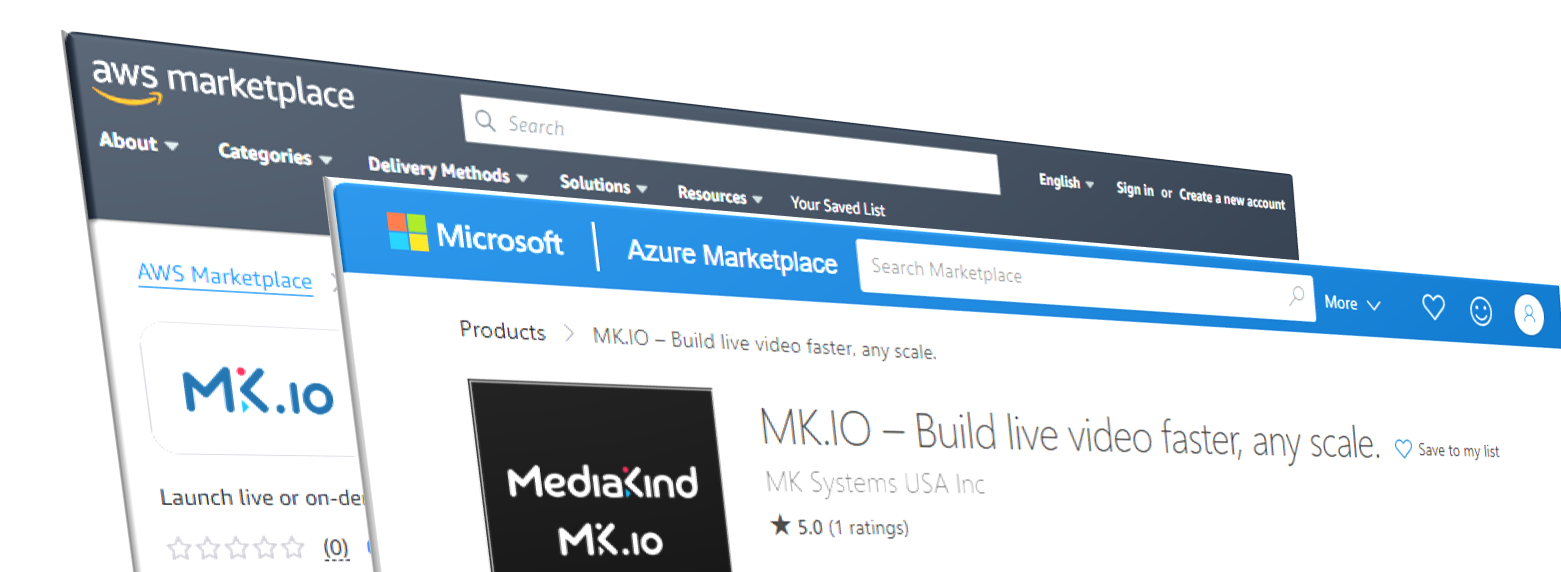
Right now, MK.IO is available on Azure and AWS marketplaces (more coming soon). If you already have an account on one of those platforms, this is by far the easiest way to activate MK.IO. You don’t need to prepare anything. Just accept the standard commercial terms and activate the subscription.
You can follow the process here:
Signing up through a marketplace is completely free — there are no hidden costs just for activating it. You’ll only be billed when you actually start using the services. And the best part is: you can do this on your own, at any time, without needing to talk to MediaKind or negotiate contracts for days.
Tip: Double-check your marketplace settings to ensure there's nothing that automatically deactivates MK.IO — like having auto-renewal turned off.
Using a direct sales link
Another option is Direct Sales, where you sign a contract directly with MediaKind. This path is great if you’re looking for more flexibility, volume discounts, or if you need professional services on top of the platform.
If your company has reached an agreement with MediaKind, you’ll be given a redemption link. Just follow the steps at:
https://docs.mk.io/docs/sign-up#direct-sale
You’ll log in, create your organization (if needed), accept the terms, and that’s it — you’re in.
Step 2: Log in to the platform
Logging In
Once your account is ready, simply go to https://mk.io and click Sign in.
You can use either:
- Your email and password
- Or a Microsoft SSO account
That will take you straight to the MK.IO portal.
Step 3: Exploring your organization
When you sign up, you’re not just creating a user — you’re creating an organization, and you’re now its owner.
This is your kingdom. You’re the one who decides what happens here. You control the projects, manage access, connect services, and run the show. Whether you’re working solo or inviting a team, it all starts with you.
Here are a few places you’ll want to explore:
-
Projects Overview See all projects created in your organization.
-
Billing Overview Track your usage and expenses, per project.
-
Payment Methods Review or update how each project is being billed.
-
API Tokens Check all active API tokens. Revoke access if there’s a security concern.
-
Access Management Invite colleagues, create teams, and assign permissions.
You have full control over your organization. Take a moment to get familiar with these tools — they’ll give you the power to scale, secure, and operate everything the way you want.
Step 4: Creating your first project
Let’s talk about projects — because this is where things start to happen.
A project in MK.IO is the space where cloud services are deployed to run your workflows. That could mean live channel creation, video distribution, file processing, translation, and more.
Each project must be created in:
- A cloud provider (Azure or AWS)
- A specific region (for performance and cost optimisation)
You can have as many projects as you want.
Tip: Once a project is created, you can’t change the cloud or region — so it’s worth thinking ahead. But don’t worry: creating projects is free, and you can always deactivate one and start fresh if needed.
Before you create: Think about the right cloud and region
Before clicking Create, take a moment to choose the cloud provider and region that best suit your project. It’s a simple decision, but it has real consequences in terms of performance, integration and cost.
MK.IO is a cloud-agnostic platform. That means your organization isn’t locked into any single cloud. You can create one project in Azure, another in AWS — or even several in each — and manage them all the same way. Same interface. Same APIs. Same capabilities. Same price. No differences in service quality or feature set.
This flexibility lets you adapt to technical, commercial or geopolitical needs as they evolve. You stay in control.
Here are some practical reasons why the cloud and region choice matters:
-
Proximity to source or audience Deploying close to where your video content is ingested or delivered can improve speed and reliability.
-
Interoperability with your existing infrastructure If your applications are already running in a certain cloud, it makes sense to deploy your video project there for easier integration.
-
Cost optimisation If your storage is in the same region and cloud as the MK.IO project, you can often avoid transfer costs and reduce latency.
-
Resilience and redundancy You can create secondary projects in other regions — even on different clouds — for disaster recovery or to serve audiences in other parts of the world.
-
Privacy and legal compliance You may be required — either by law or internal policy — to ensure that your video workflows are executed within a specific geographic region. MK.IO gives you that level of control when creating and running your projects.
Take a few minutes to think about what makes sense for your case. There’s no single correct answer — the best setup depends on your goals.
If you have other use cases or creative setups in mind, I’d love to hear them in our MK.IO Community: https://support.mk.io/portal/en/community
How to create a project
-
Go to your Projects Overview https://app.mk.io/settings/overview/projects
-
Click “Create new”

Creating a project
-
Choose:
- Cloud provider
- Region
- Project name
- Payment method
-
Click Create
And just like that — your project is ready.
Once your project is live, you can start assigning roles and responsibilities in https://app.mk.io/settings/accessManagement/teams where you can:
- Invite colleagues to the organization
- Create user groups (e.g., content uploaders, admins, analytics viewers)
- Grant specific permissions to each group
Here you have more info how to operate users and teams: https://docs.mk.io/docs/access-users-and-teams#/
That way, your team can collaborate efficiently and securely, each with the right level of access. You stay in control, but you’re never working alone — unless you want to.
What’s next
With a live project, you’re ready to:
- Upload and transcode video
- Launch live channels
- Configure endpoints
- Deliver your content to the world
We’ll dive into those topics in the next guide:
https://docs.mk.io/docs/getting-started-with-video-on-demand-vod-in-mkio#/
https://docs.mk.io/docs/creating-a-live-stream-with-mkio#/
If you liked this one, let’s keep going. Want to learn how to upload your first video?
Updated 24 days ago