
Account setup and first steps
Setting up your MK.IO account is straightforward and only takes a few minutes. This chapter walks you through creating your account, exploring your organization, and launching your first project.
Step 1: Signing up for MK.IO
There are two main ways to get started with MK.IO, depending on your commercial relationship with MediaKind:
Subscribing via a cloud marketplace
Recommended for quick start
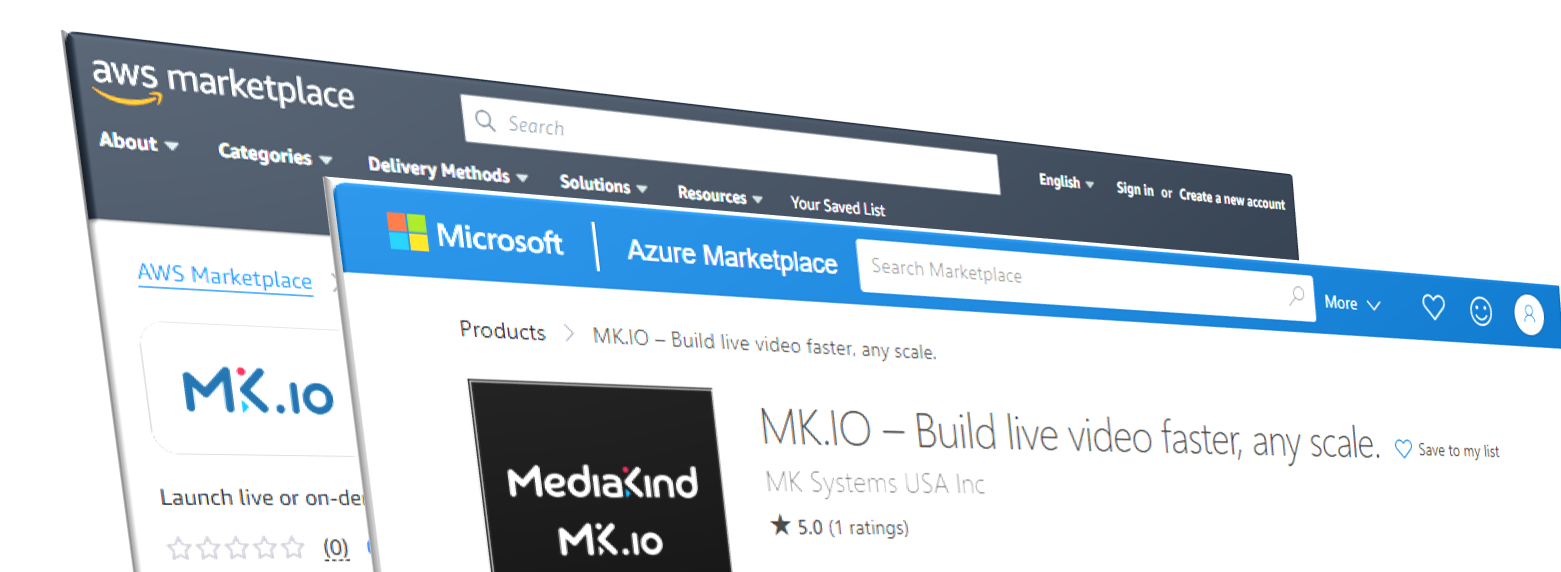
MK.IO is available on Azure Marketplace and AWS Marketplace, making it the fastest way to get started if you already have an account with either cloud provider.
Benefits of marketplace signup:
- Completely free to activate (no hidden costs)
- You're only billed when you actually use services
- No need to negotiate contracts or talk to sales
- Can be done immediately, anytime
To sign up via marketplace:
- Navigate to the MK.IO website and click Get Started Now
- Choose your preferred authentication method:
- Sign in with Microsoft (if you have Microsoft ID/Azure AD)
- Create a new account (email and password)
- Follow the on-screen steps to complete account setup
- If you received an invitation, you can join an existing organization or create a new one
- Select your preferred marketplace: Azure Marketplace or AWS Marketplace
For Azure Marketplace
-
Click Get it now on the subscription page
-
Complete your profile information and allow Microsoft to share account information with MediaKind
-
Configure your subscription:
- Choose the MK.IO 2024 plan and click Subscribe
- Select your Azure subscription and Resource group (create one if needed)
- Enter a name for your MK.IO subscription under SaaS details
- Click Review + subscribe to review terms and conditions
-
Check your contact details and click Subscribe
-
When the Configure account now button turns blue, click it to complete activation
-
You'll be redirected to the MK.IO portal and may be asked to create a project
For AWS Marketplace
-
Click View purchase options to see licensing agreements
-
Click Subscribe then Set up your account
-
Review subscription details, tick the box and click Activate Subscription
-
Click I understand and activate to agree to terms and conditions
-
You'll be redirected to the MK.IO portal and may be asked to create a project
Tip: Double-check your marketplace settings to ensure auto-renewal is enabled and nothing will automatically deactivate MK.IO.
Subscribing after a direct sales agreement
If your company has signed a direct contract with MediaKind, you'll receive a redemption link. This path offers more flexibility, volume discounts, and professional services.
To redeem your direct sales link:
- Follow your redemption link and sign in to MK.IO
- If you don't have an account, click Create an account and choose:
- Login with Microsoft (requires Azure Active Directory/Entra ID)
- Continue with email (you'll need to provide organization details)
- If creating an email account, enter information to create your organization
- Redeem your purchase by agreeing to the terms
- Create a new project, selecting the cloud region for your workloads
Note: If you're associated with multiple MK.IO organizations, you can select which organization to add the new purchase to by switching organizations before proceeding.
Step 2: Accessing the MK.IO dashboard
Once your account is ready:
- Go to https://mk.io and click Sign in
- Use your chosen authentication method:
- Email and password
- Microsoft SSO account
- You'll be taken to the MK.IO portal dashboard
Step 3: Understanding your organization
When you sign up, you become the owner of a new organization - this is your workspace where you control everything.
Key organization areas to explore:
- Projects Overview - See all projects in your organization
- Billing Overview - Track usage and expenses per project
- Payment Methods - Manage how projects are billed
- API Tokens - Manage access tokens for API automation
- Access Management - Invite colleagues, create teams, and assign permissions
You have full control over your organization. Take time to familiarize yourself with these tools as they provide the foundation for scaling and securing your video workflows.
Step 4: Creating your first project
A project in MK.IO is where cloud services are deployed to run your workflows - from live channels to video processing and distribution.
Key considerations before creating a project:
Each project must be created in:
- A specific cloud provider (Azure or AWS)
- A specific region (for performance and cost optimization)
Important: Once created, you cannot change the cloud provider or region for a project. However, creating projects is free, and you can create as many as needed.
Factors to consider when choosing cloud and region:
- Proximity to source or audience - Deploy close to where content is ingested or delivered
- Infrastructure interoperability - Match your existing cloud infrastructure
- Cost optimization - Keep storage and compute in the same region to avoid transfer costs
- Resilience and redundancy - Create projects in multiple regions/clouds for disaster recovery
- Privacy and compliance - Ensure workflows run in required geographic regions
MK.IO is cloud-agnostic - you can create projects across multiple clouds and regions while managing them through the same interface, APIs, and pricing model.
To create a project:
- Go to Projects Overview
- Click Create new
- Configure your project:
- Cloud provider (Azure or AWS)
- Region (choose based on your requirements)
- Project name (descriptive identifier)
- Payment method (link to billing)
- Click Create
Your project is now ready! You can manage access and permissions within Access Management where you can:
- Invite colleagues to your organization
- Create user groups (content uploaders, admins, analytics viewers, etc.)
- Grant specific permissions to each group
What's next
With your first project created, you're ready to:
- Upload and transform video content
- Launch live streaming events
- Configure streaming endpoints
- Distribute content to your audience
The following chapters will guide you through these core workflows.
Updated 3 months ago